English below >>>
A konzol egyik végén befogott, vagy alátámasztásán túlnyúló tartó, gerenda, rúd, lemez. Konzolos szerkezeteket gyakran használnak az épületekben, tartószerkezetekben, hidakban, gépszerkezetekben.
Ez a feladat szorosan kapcsolódik a papírhíd építéséhez, érdemes egymás után foglalkozni velük. Kapcsolhatjuk party-tányér és a lámpabúra feladathoz is, mert ugyanazokat a papírmegmunkálási képességeket igénylik. Szintén a Moholy-Nagy Vizuális Modulok kutatás keretén belül fejlesztettem ki ezt a térszemlélet-fejlesztő hatású feladatot.
A feladat: Készíts az asztallap szélébe „harapó”, legalább 50 cm hosszan kilógó konzolt 1 db A3-as dipából! Szabad hajtani, vágni, a papírt ragasztani – olló, sniccer, vonalzó, stiftes ragasztó használható. Nem szabad az asztallaphoz ragasztóval rögzíteni a munkadarabot, nem szabad ragasztószalagot, idegen anyagot használni.
Korcsoport: gimnázium | Grade level: high school
Anyagok, eszközök: számítógép, projektor, A3-as műszaki rajzlap, olló, ragasztó | Supplies: computer, projector, A3 size crafting paper, scissors, glue sticks
Időigény: 2 x 45 perc | Teaching duration: 2 x 45 min
A cantilever is a rigid structural element, such as a beam or a plate, anchored at one end to a (usually vertical) support from which it protrudes; this connection could also be perpendicular to a flat, vertical surface such as a wall. Cantilever structures are often used in buildings, support structures, bridges, machine structures.
This task is closely related to the paper bridge construction task, it is worth dealing with them one after the other. You can also link it to the party plate and the lampshade task, because they require the same craftsmanship capabilities.
The assignment: Create a cantilever out of a single A3 paper “biting” the edge of the table, protruding at least 50 cm (20 inches)! You can fold, cut, glue the paper – scissors, box cutter, ruler, glue stick can be used. You cannot glue the workpiece to the tabletop, you cannot use adhesive tape or foreign material.
We began with an introduction, I presented the following pictures, while starting a conversation with the students about cantilevers. Since the concept of the cantilever is less familiar to the children than that of the bridge, it is important for them to understand exactly what I expect them to do. An example of the extension of a simple supported beam and a full moment connection cantilever anchored in the wall:
Bevezetéssel kezdünk, a következő képeket mutattam be (köszönet értük Balogh Imola kolléganőmnek), közben kérdeztem párat a diákoktól. Mivel a konzol fogalma már kevésbé ismerős a gyerekeknek, mint a hídé, fontos, hogy megértsék, pontosan mit is várok tőlük. (Fent leírtam a konzol fogalmát) Példa az alátámasztásán túlnyúló, illetve falba befogott konzolra:

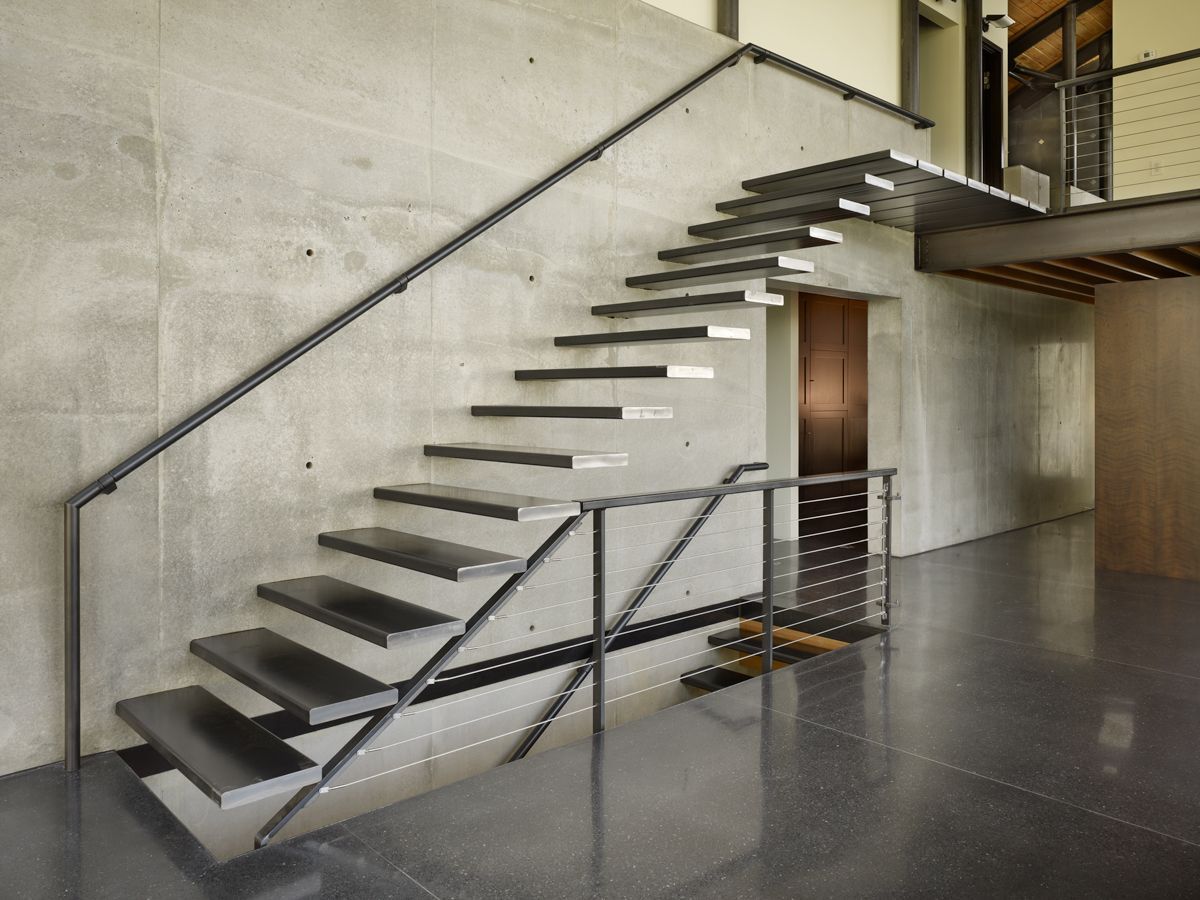
Melyik polc milyen típusú konzol, illetve mekkora részüket tekinthetjük konzolnak?
Which shelf is what type of cantilever, and what part of it can be considered a cantilever?


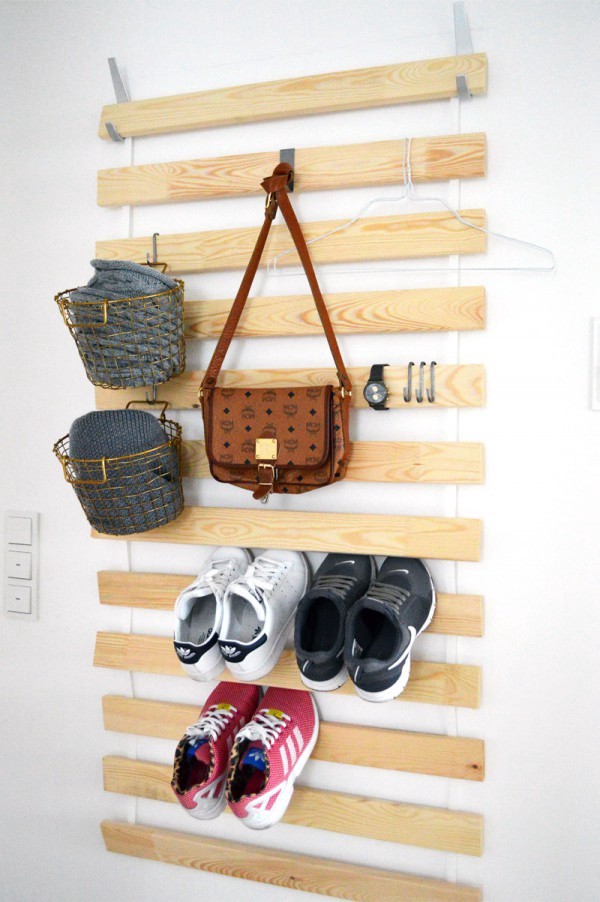
Hol a konzol? | Where’s the cantilever?

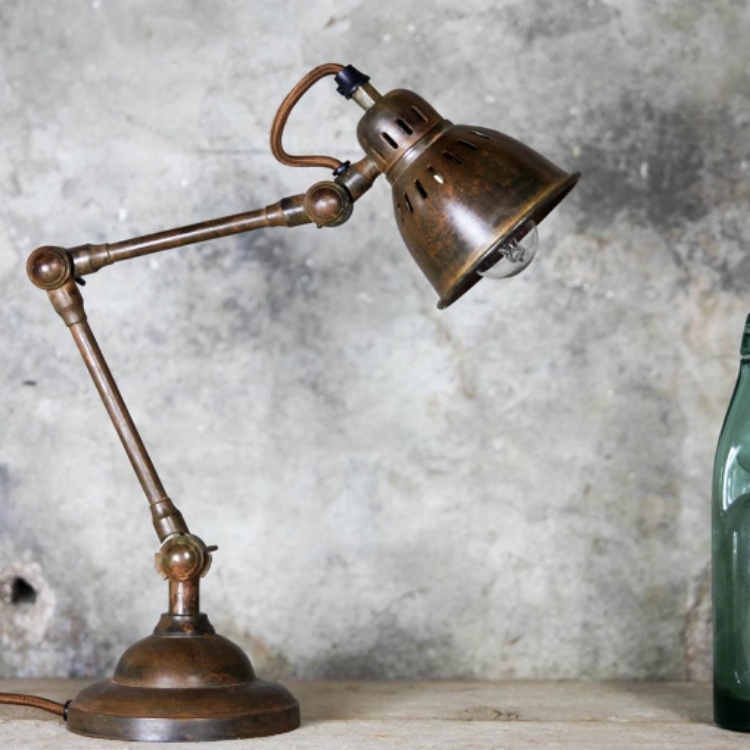
A lámpák melyik része konzol, miért? | Which part of the lamps is a cantilever, why?

Konzolok és hidak a budapesti Práter utcában: | Cantilevers and bridges on Budapest’s Prater Street (next to our school):
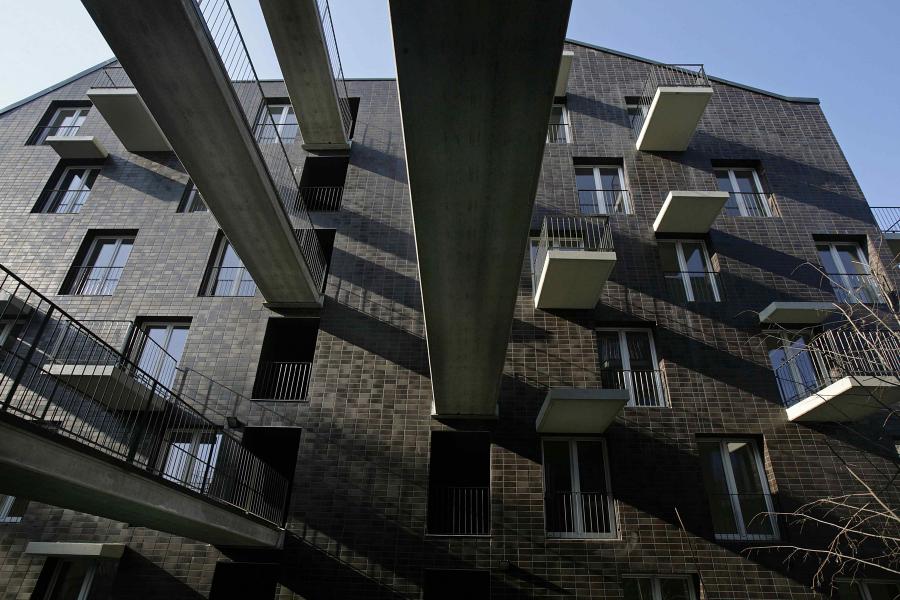

Melyik konzol, melyik nem? | Which is a cantilever, which is not?


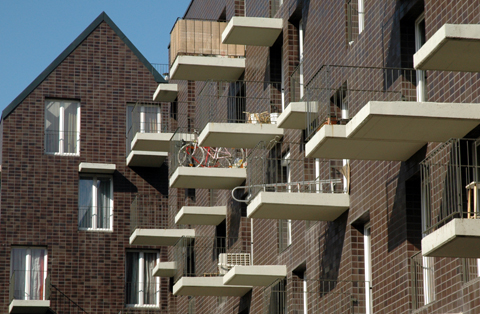
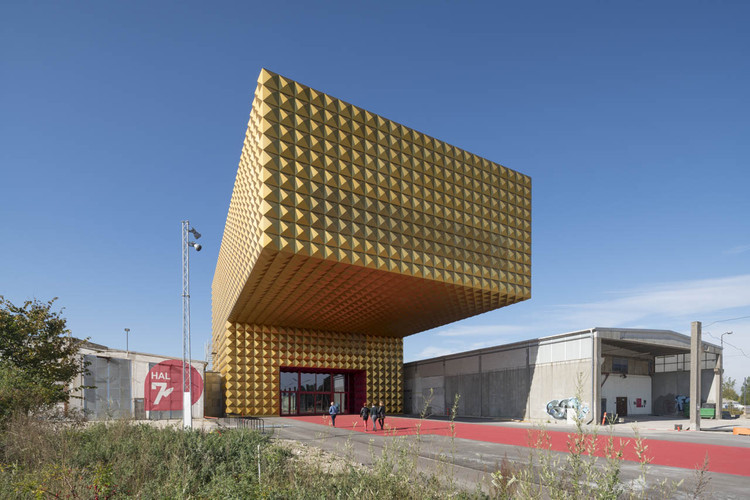
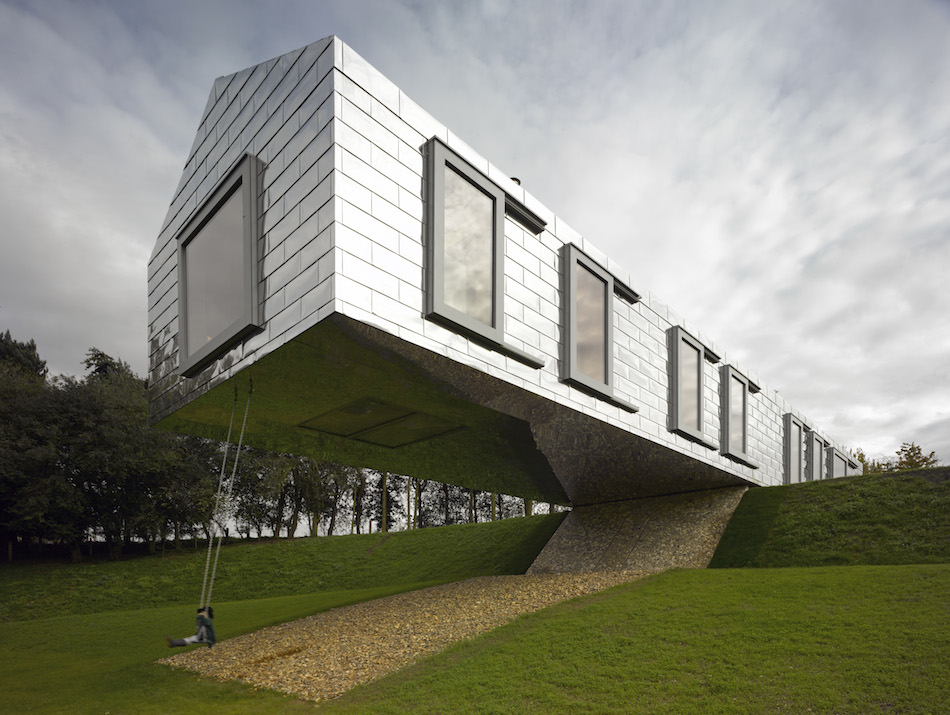
Példák konzolra a kortárs építészetben: | Examples of cantilevers in contemporary architecture:

… és a mozgáskultúrában: | … and in the motion culture:
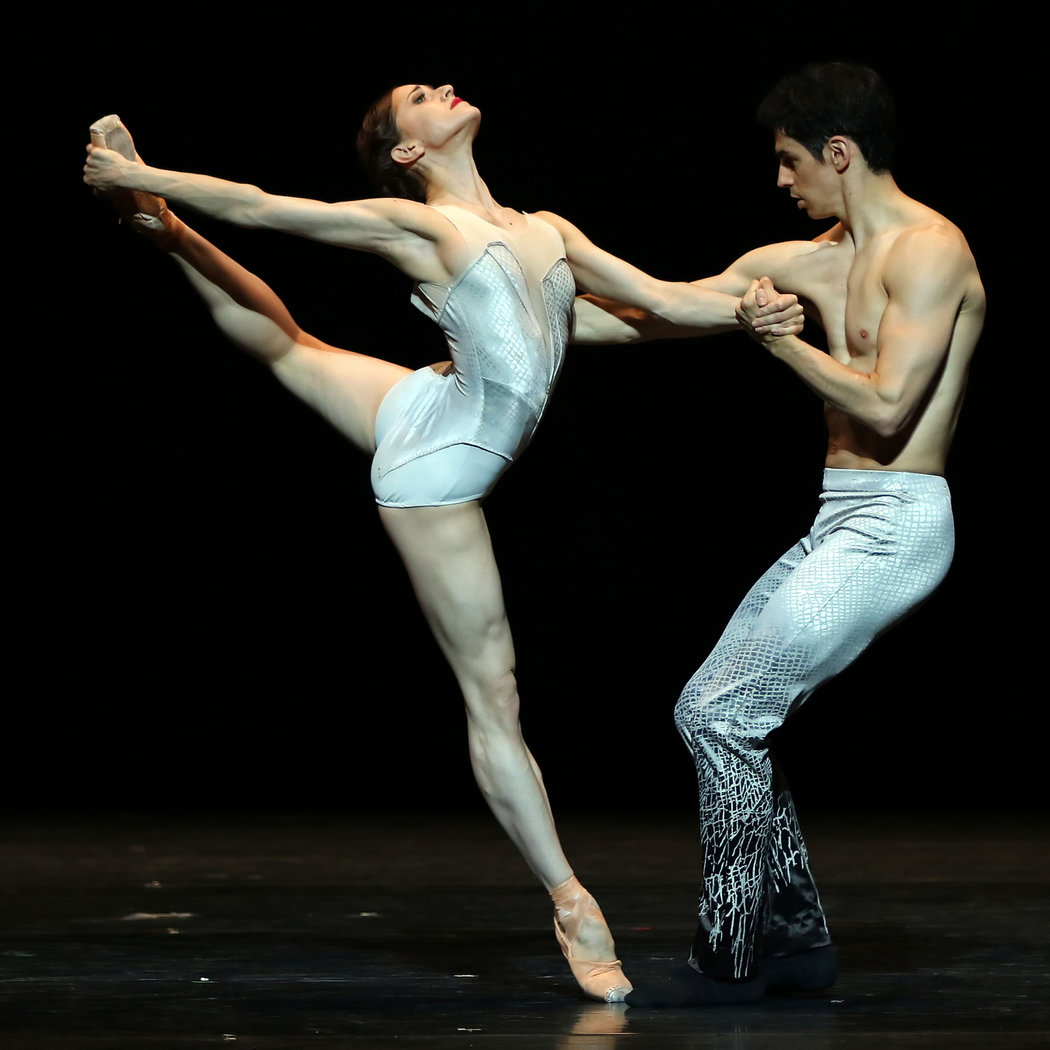

Ha úgy érezzük, hogy alkalmas rá a csapat, akár ők is bemutathatnak néhány “test-konzolt” egyénileg vagy csoportban.
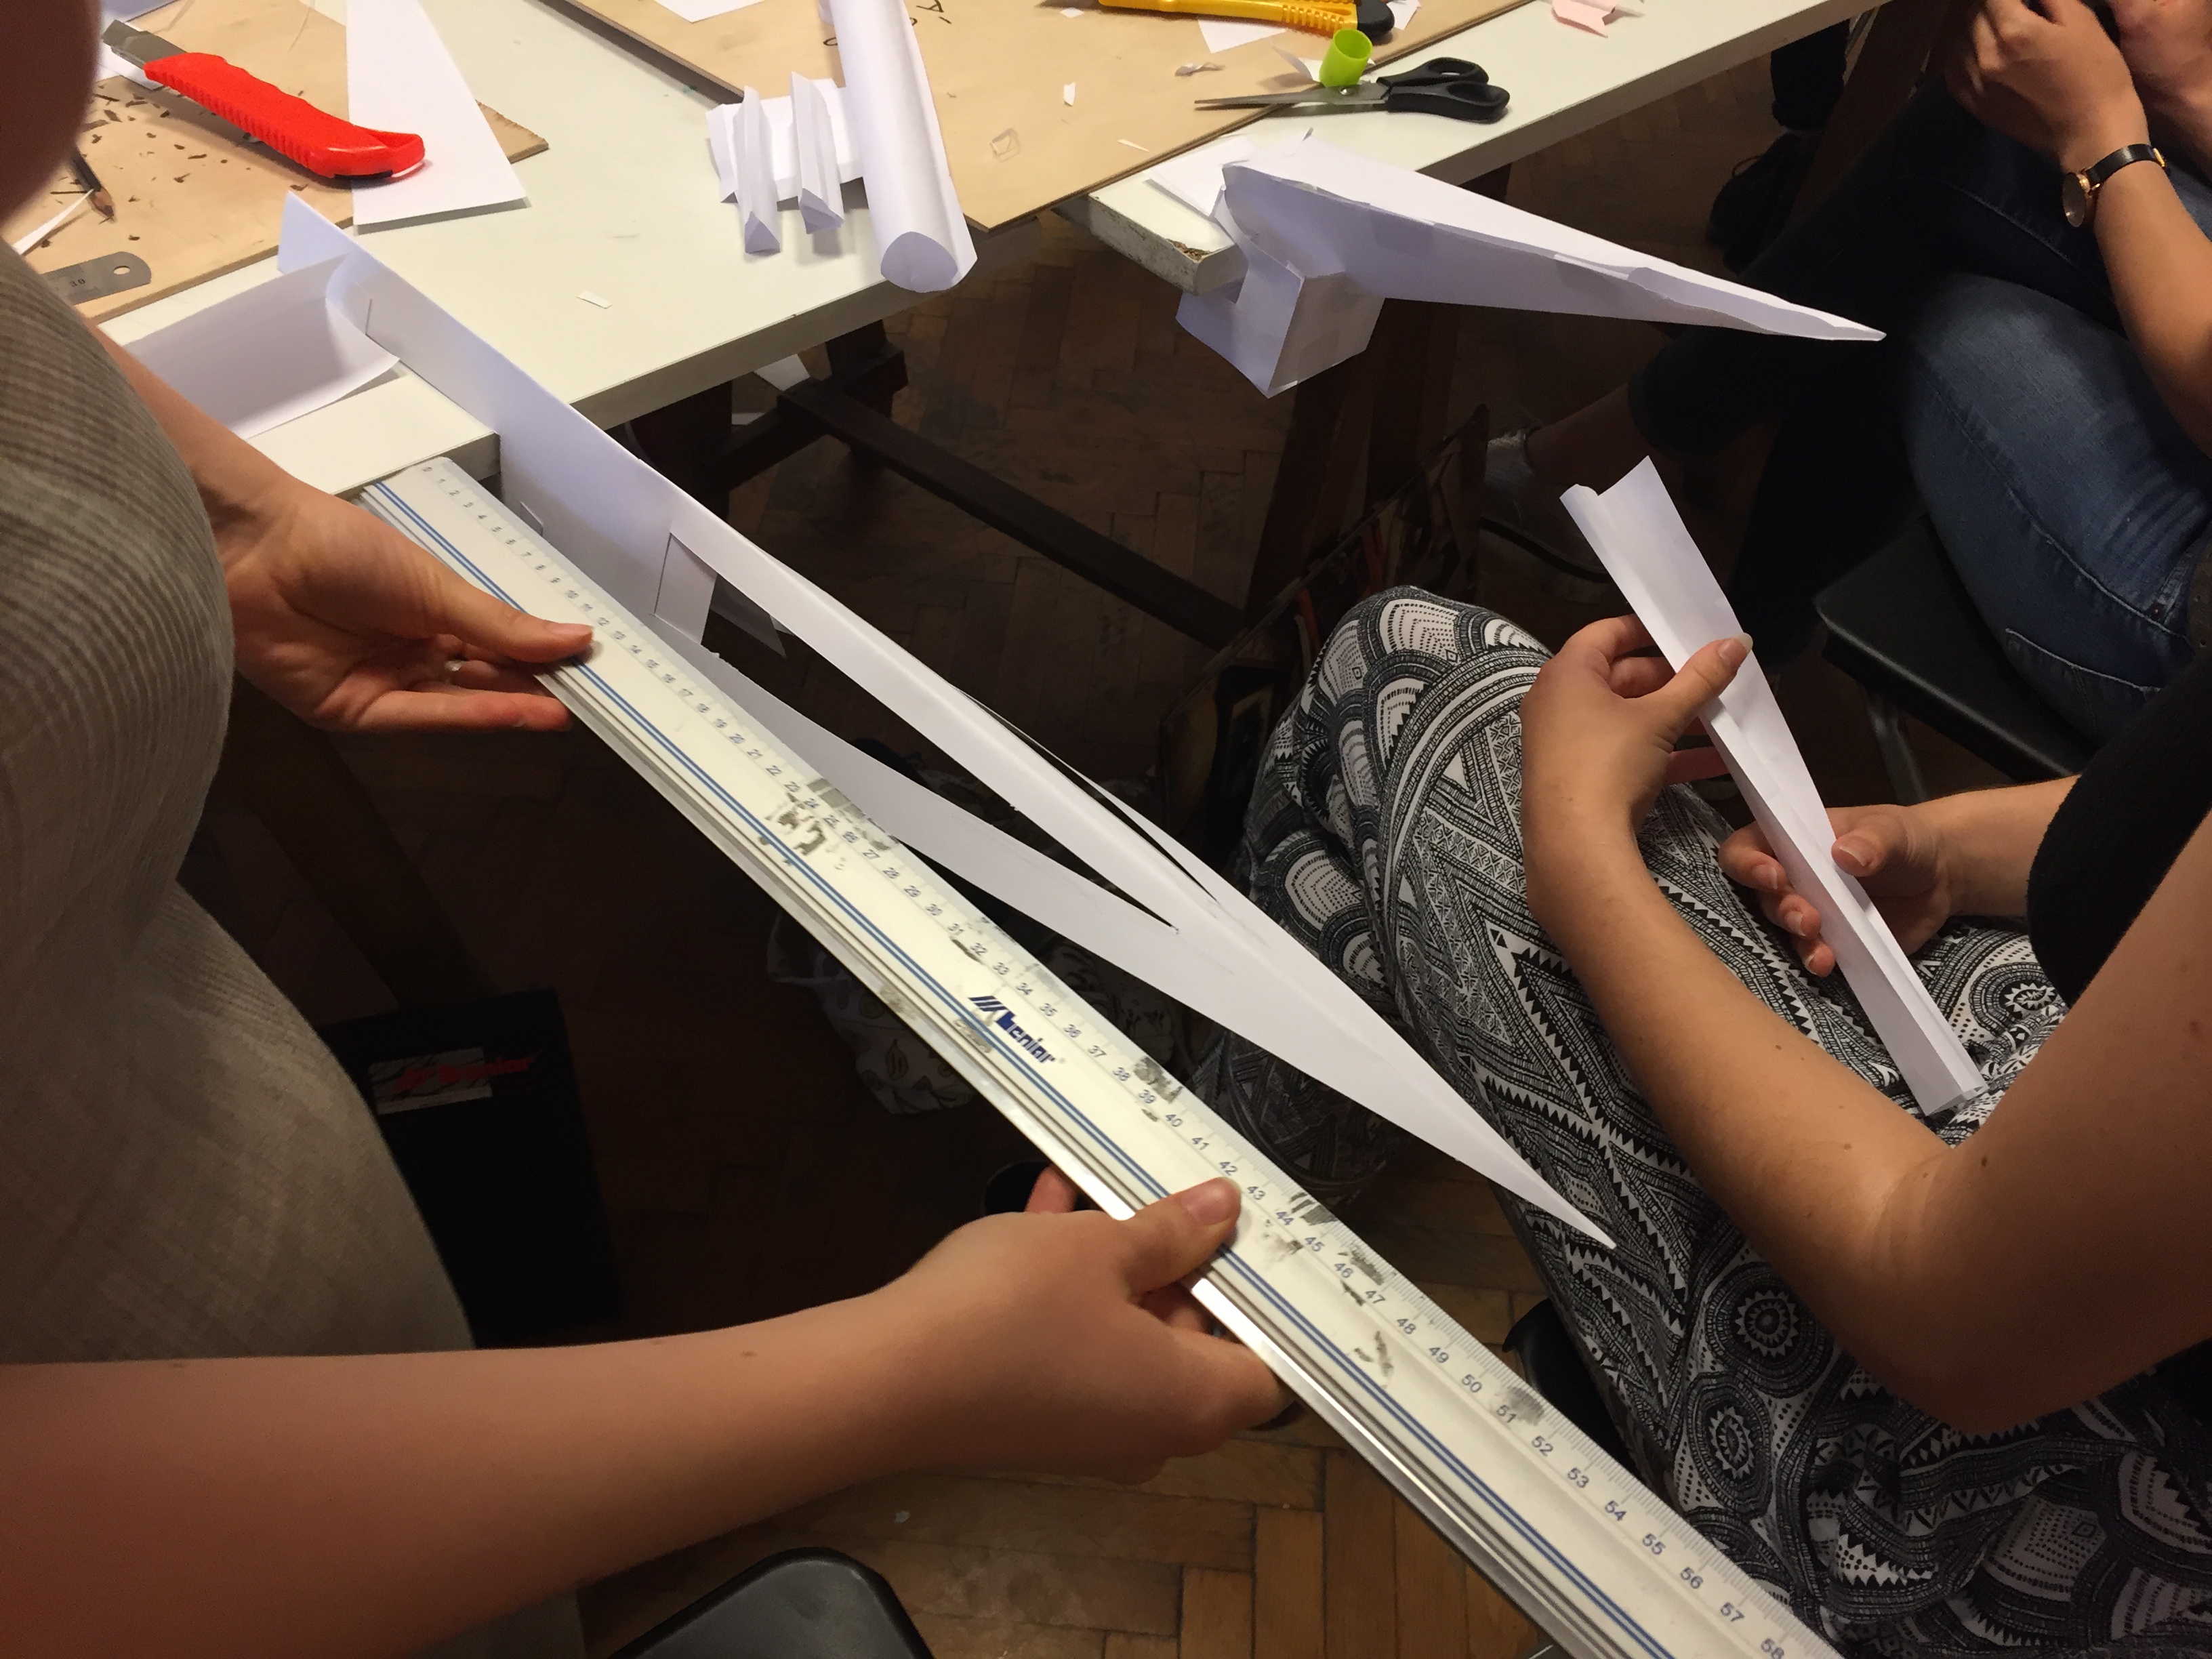
A bevezetés után kezdődhet a munka, nekem az a tapasztalatom, hogy ha valóban megtörtént a megértés, akkor elég hamar kész lesznek a munkák, aki belejött, többet is készített. Az A3-as papír hosszabb éle 42 cm, nekünk pedig 50 cm kinyúlást kell teljesíteni, tehát muszáj gondolkodni. Ha versengő a csapat, akkor be fog indulni egy “kié hosszabb” téma is, ezt ellensúlyozhatjuk a szerkezeti kreativitás/átgondoltság hangos értékelésével.
A feladatmegoldás során fontos lesz a befogó vagy alátámasztó/lesúlyozó szerkezet kitalálása, illetve a kinyúló rész merevítése. A két szerkezeti részt lehet egybegyúrni egy tárggyá, de szétszedhető is lehet.
Lássuk a diákok munkáit (lejjebb)! Ügyes próbálkozások, de még rövidek + kevéssé átgondoltak:
If we feel the team fit for it, they could present some “cantilever bodies” individually or in groups.
After the introduction, the work can begin, in my experience if they truly have an understanding of the topic, then the works can be done in no time, the ones who got into it created multiple works. The longer edge of the A3 paper is 42 cm and we must achieve a 50 cm overhang, so thinking is obligatory. If the teams are competitive, a “who’s is longer” theme will also appear, which can be compensated by the assessment of structural creativity/consideration.
During the solution of the task, the invention of the anchor or the supporting/weighing structure will be important, as well as the bracing of the protruding part. The two structural parts can be integrated into a single object, or also dismountable.
Let’s see the students’ work. Clever attempts, but still short + little thought out:


Felülről lesúlyozott illetve befogott konzolok: | Top-weighted and anchored cantilevers:
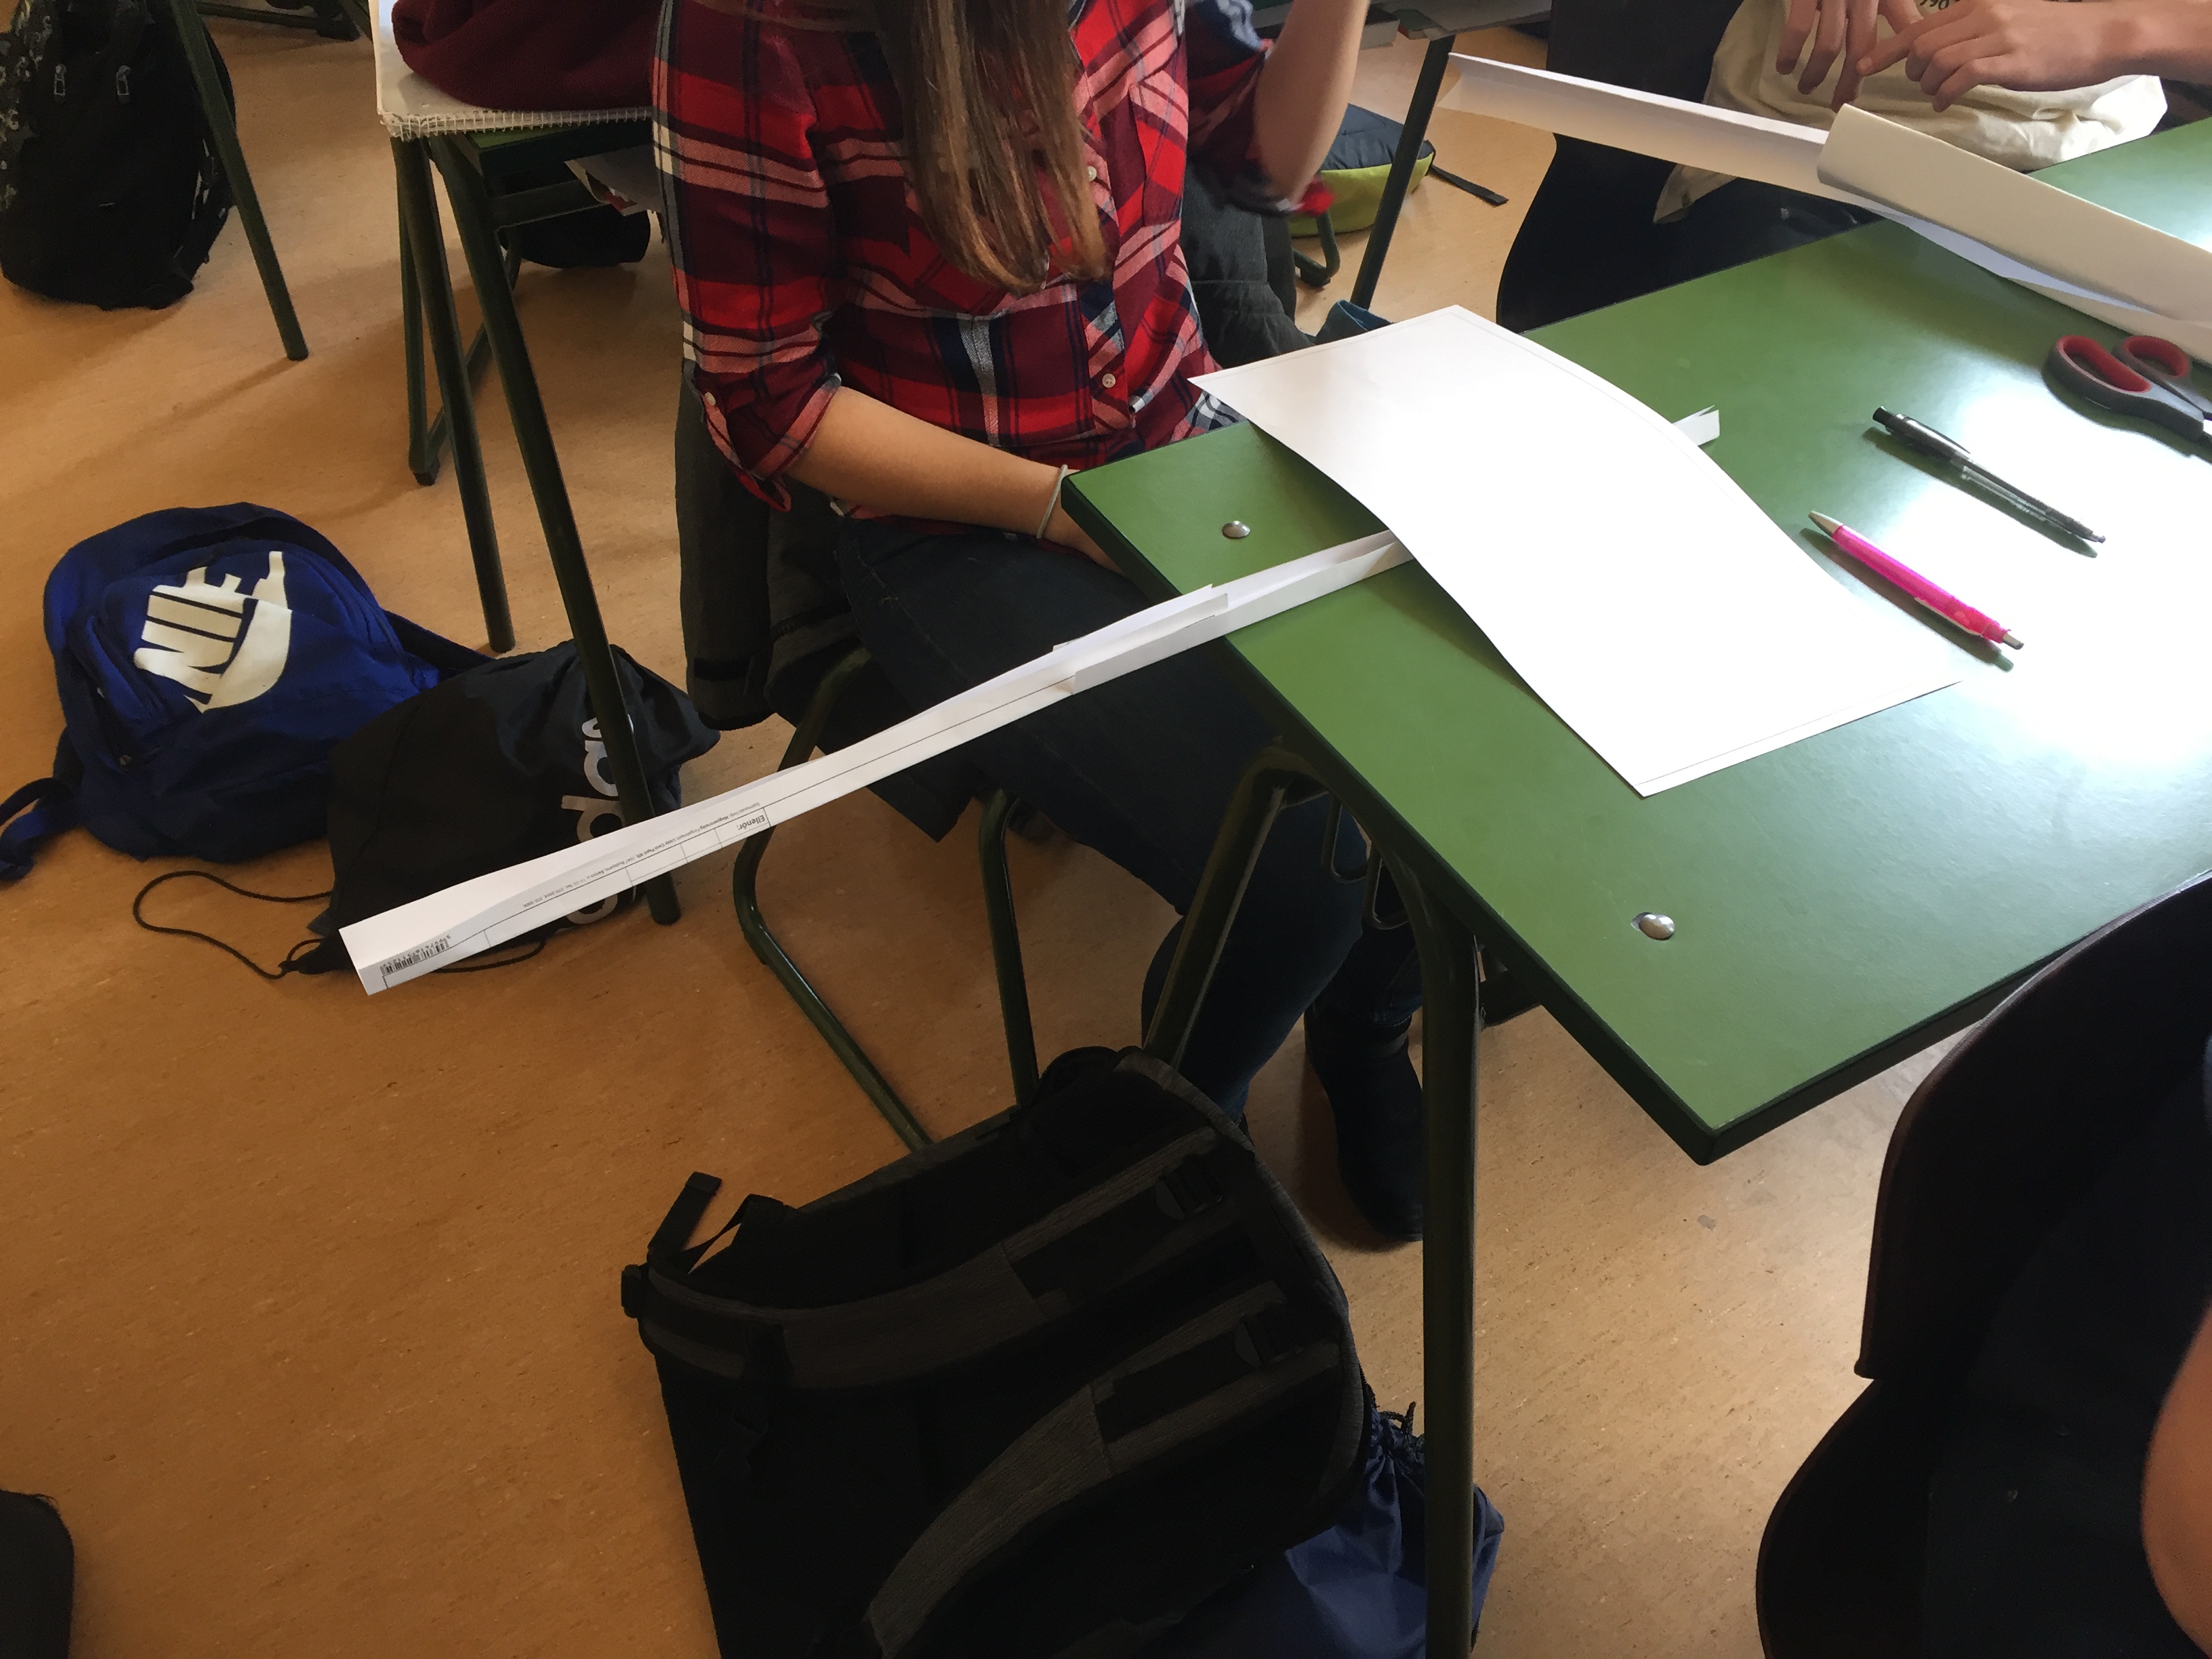

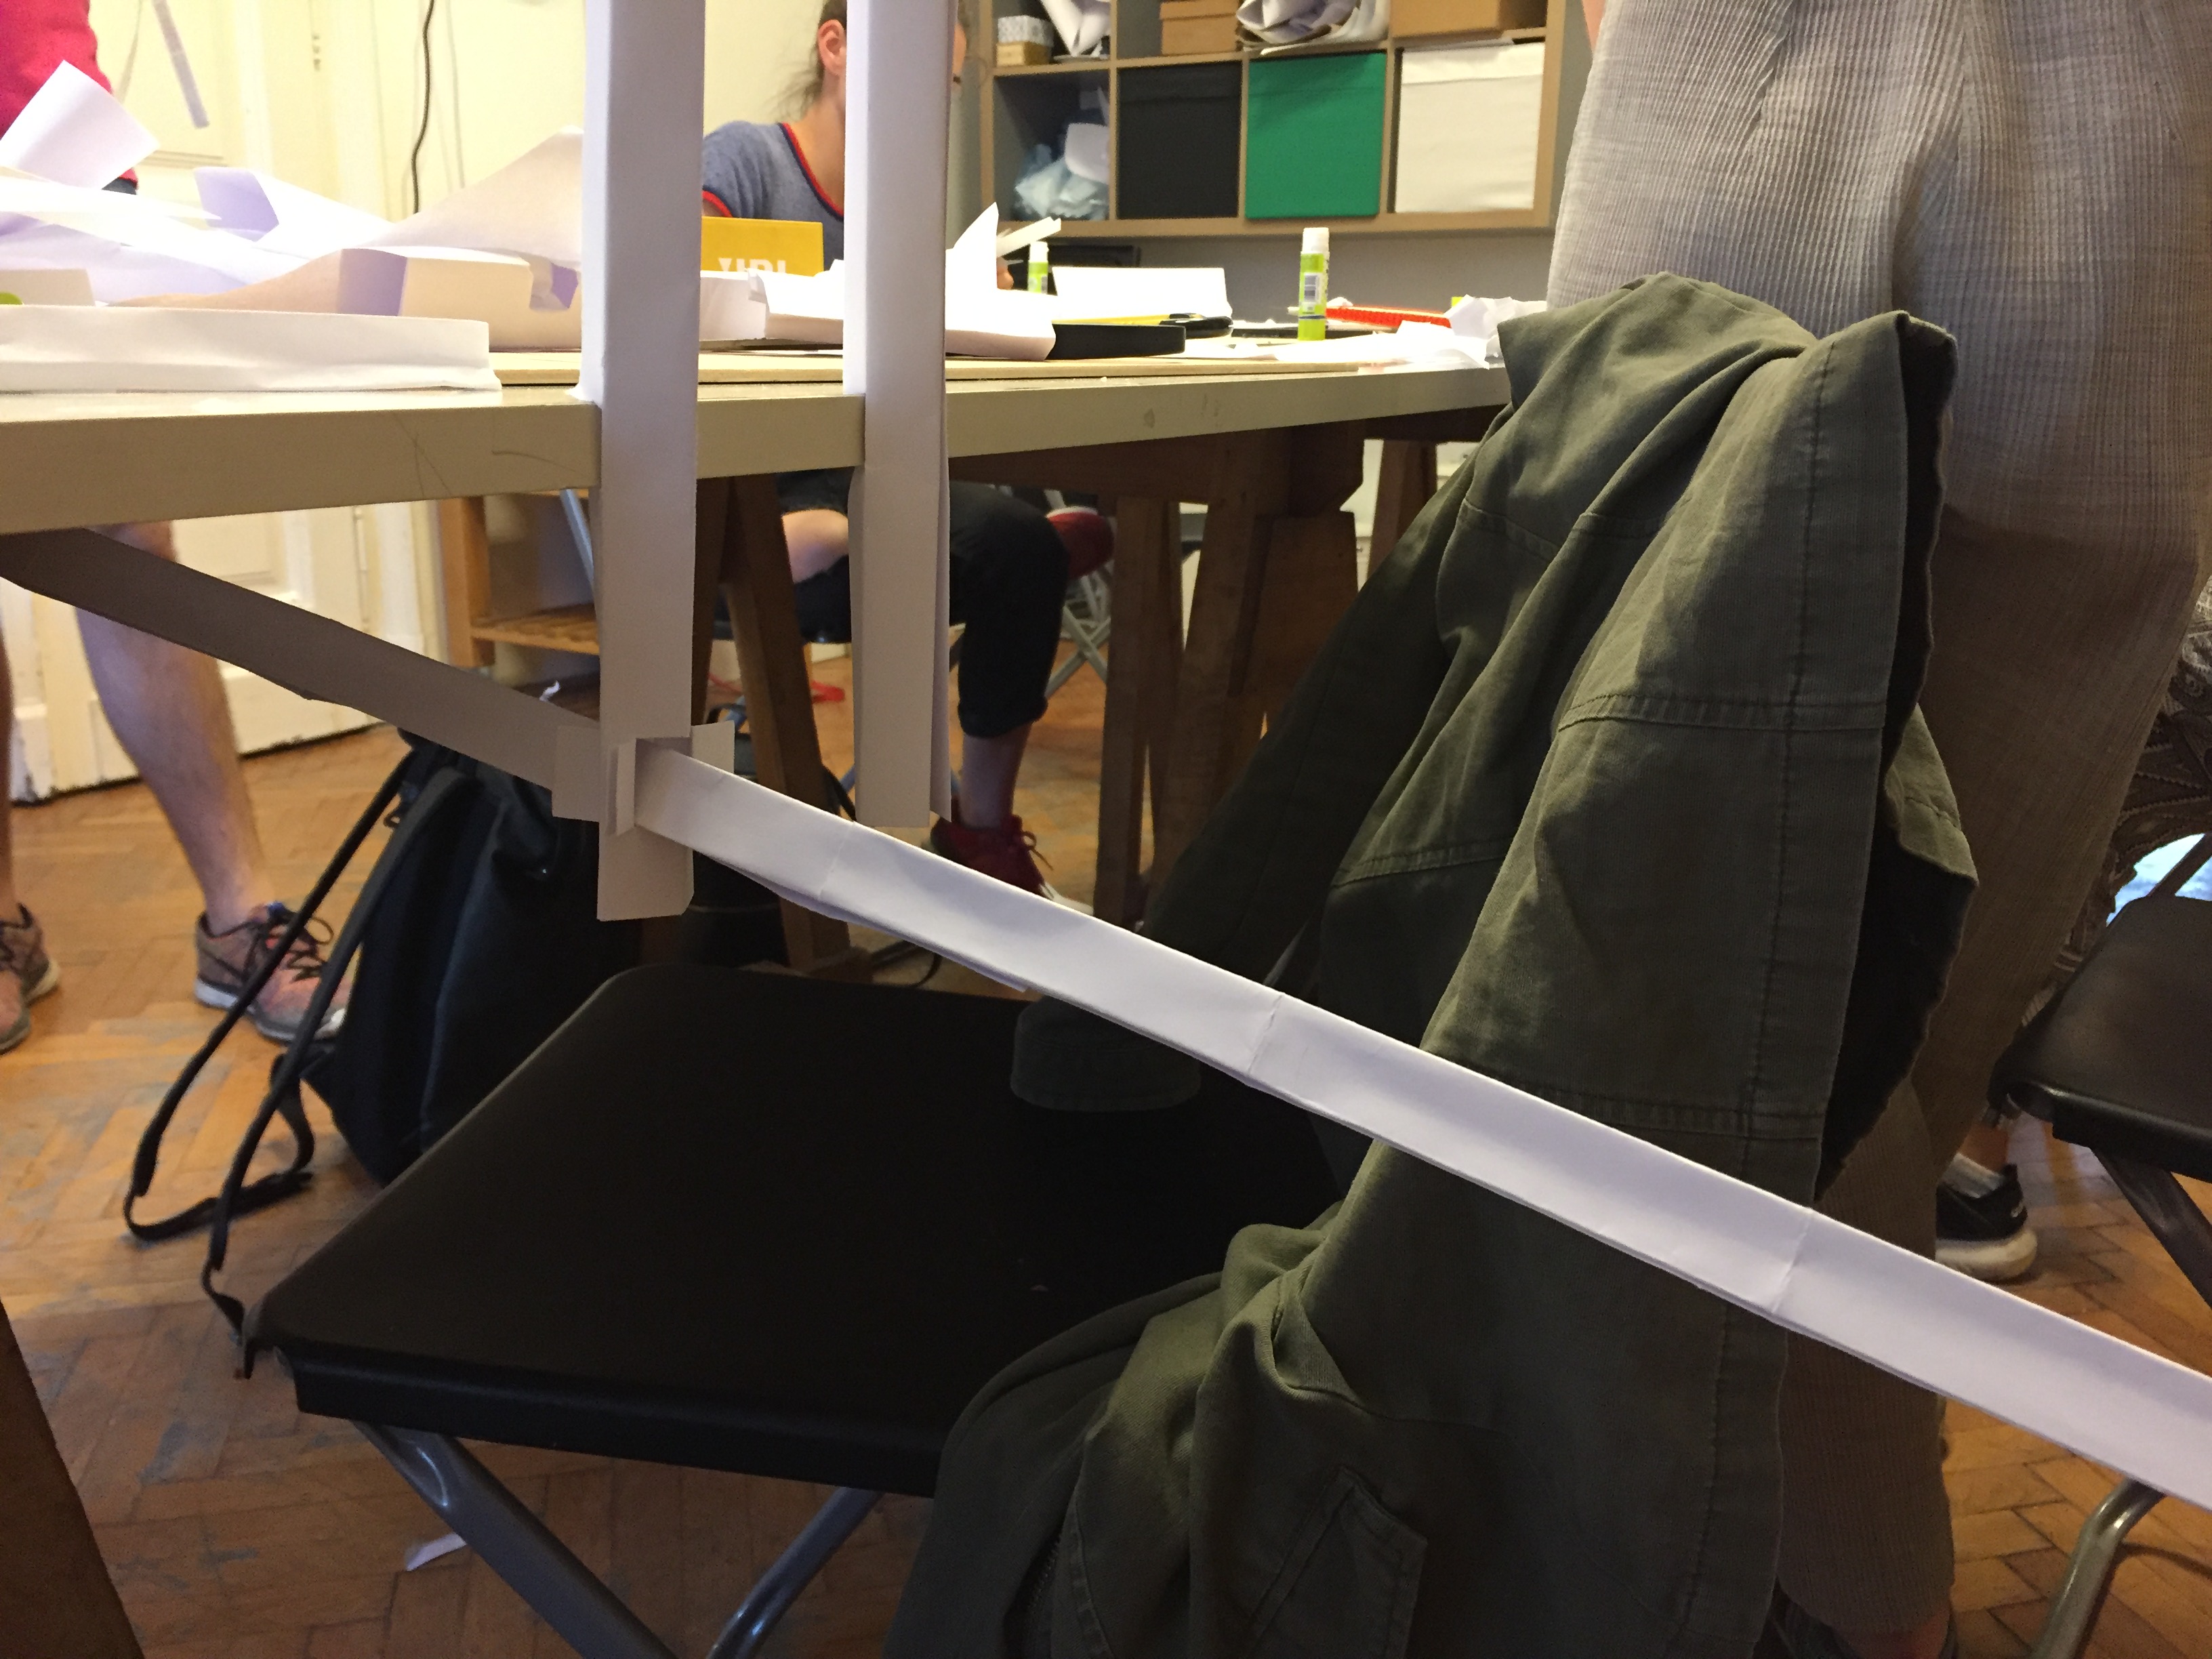
Befogott konzolok, szészedhető ill. egy darab (oké, az első trükkösen meg is támaszkodik az asztal alján): | Anchored cantilevers, dismountable as well as in one piece (okay, the first one cunningly found support at the bottom of the table):


Alulról megtámaszott, illetve befogott konzolok: | Bottom-supported, and anchored cantilevers:
A feladatötletet és az inspirációs képeket hálásan köszönöm Balogh Imola kolléganőmnek!
A bemutatott munkákat a Budapesti Fazekas Mihály Gimnázium 12.c osztályosai, illetve a Corvin Rajziskola építész felvételi előkészítősei (17-19 év) készítették.

Egy hozzászólás Új írása